
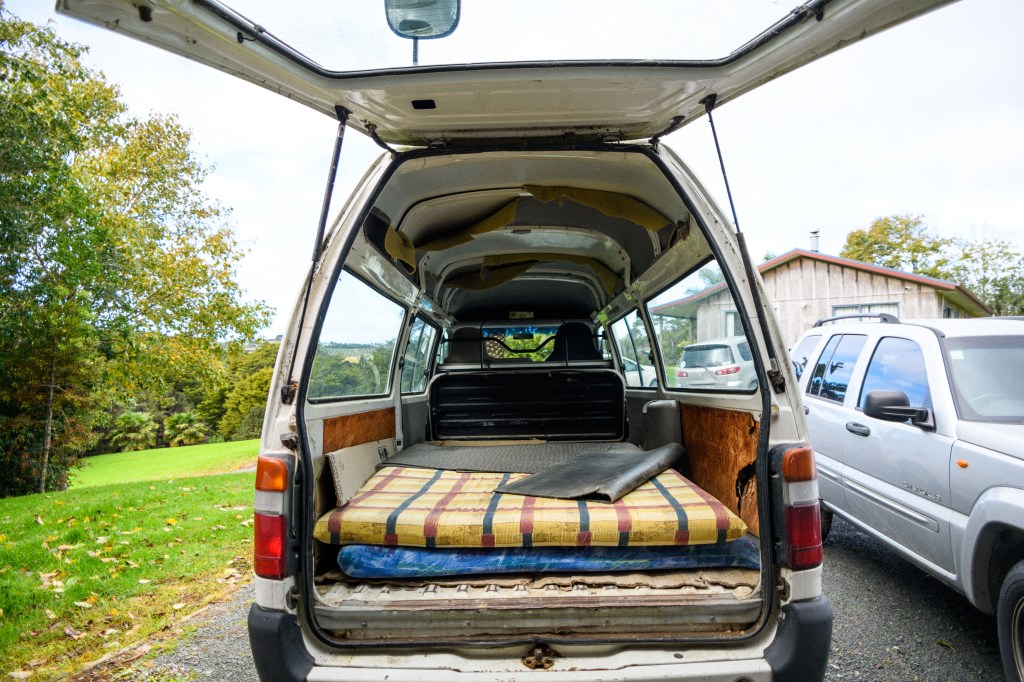
Well now, after a very solid drive up from the South Island to north of Auckland, I knew there was a lot of work to be done, but this van definitely was in solid shape. Perhaps a little too solid (we’ll get to that later.) I’d been scheming up various designs for the interior; seeing if it would in fact be possible to fit my KORG keyboard in along with everything else. When I’d purchased the van, I’d received the rough dimensions of the cargo hold, and had begun my drawings with the raw dimensions of, 3 meters long, 1.5 meters wide, and 1.5 meters tall. These weren’t exact, but they provided a perfect place to start.

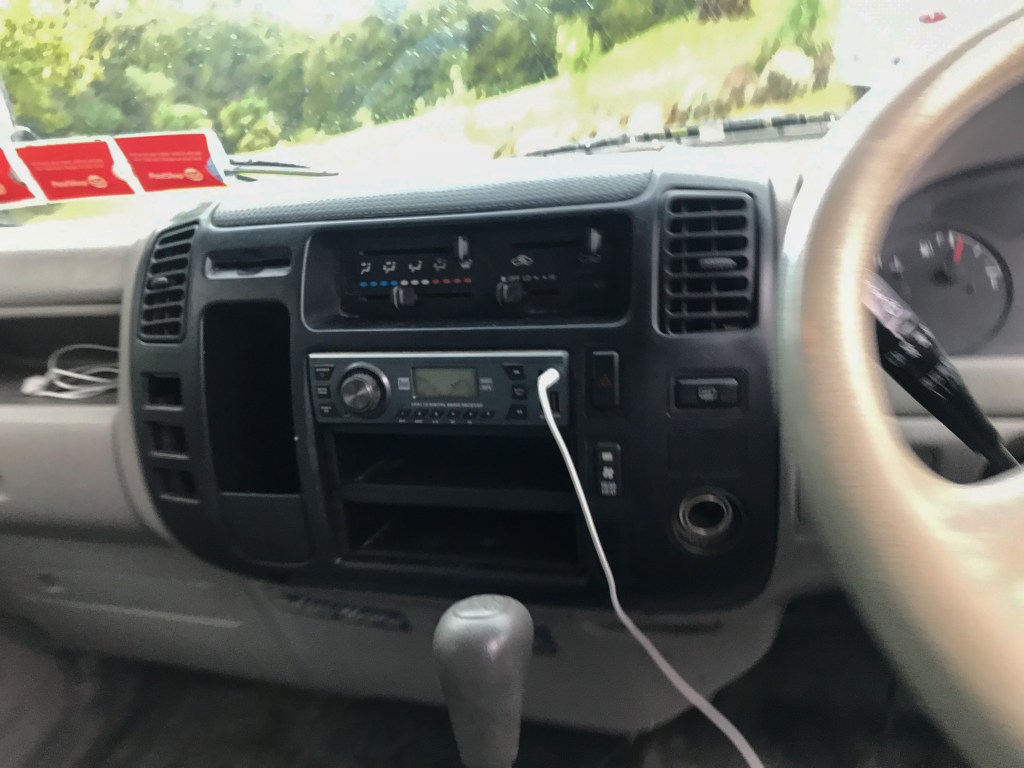
Knowing that a long drive was in store, thankfully, I’d brought along my UE Boom. I’d come to find out that the “new” stereo powered one very small speaker in the drivers side door. It was ni impossible to hear it over the roar of the engine and thrum of the road. Somewhere along that multi-day journey I decided that a new stereo was going to be a necessity. If for no other reason than I had begun producing music and wanted to hear it in all it’s glory as I drove off into countless sunsets.
I’d installed a stereo before. Yes, it was more than 20 years ago, but it was fun! Sorting through equipment to identify what would work best (component speakers, in both cases) and then figuring out how to actually do the install. There was no way I could know how useful a rearview camera would be, but since I’d had one on a Ute back in the States, I felt like installing one on the van would be a really good idea. That meant I needed a screen somewhere. While an inset in the rearview could be a cool option, it seemed easier and more cost-effective to just replace the headunit with one that had a larger screen. Oh, and while I was at it, why not include CarPlay so that my navigation would pop up there too?
Now, where does this all fit in with cleaning up the van? Well, while the back was mostly just exposed metal (the beauty of a working van) the passenger compartment had lots of interior body panels, fabric, and other places for dirt and dust to hang out. Mind you, there was a foam ceiling liner that went (well, used to go) the full length of the roof. I thought I could simply tear this out, or at worst leave some bits of it there underneath the new insulation that I’d be installing.
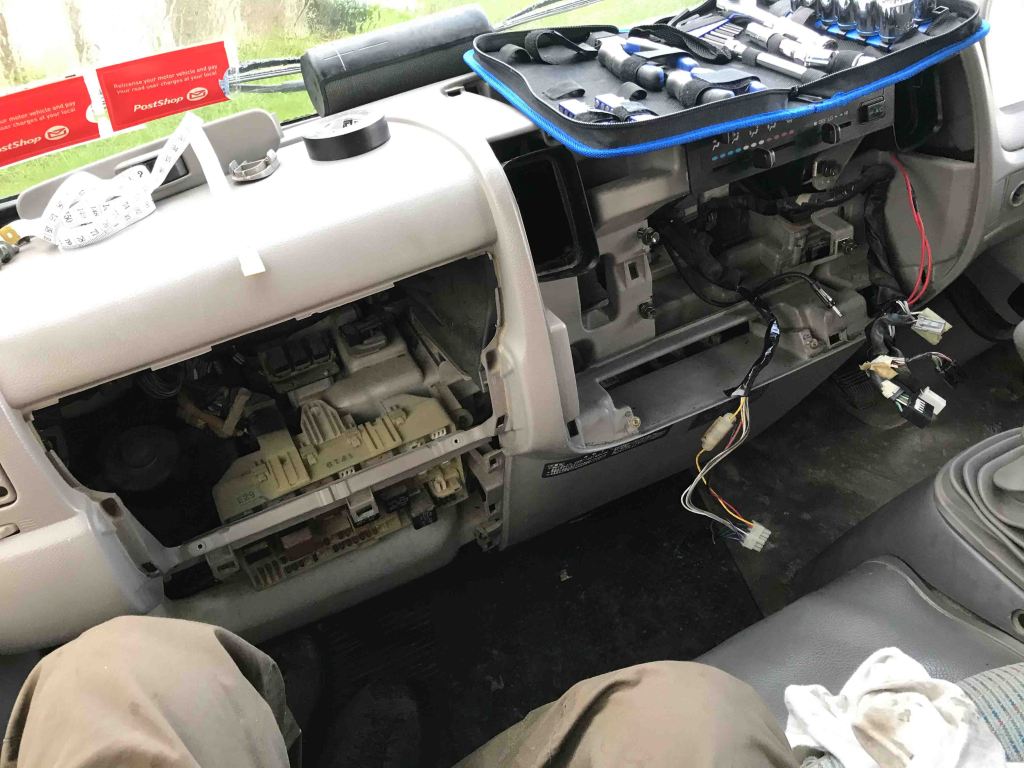
Boy oh boy! When I started removing interior body panels, it was like opening a bag post-Burning Man. There was dust EVERYWHERE. It was free floating. It was stuck into crevices. It coated nearly everything. Once I got the dashboard off (huge thank you to Richard for giving me a hand with that!) there was even an old mouse nest in the center above the heater controls. The shop vac came out and I went to work getting everything spic and span.
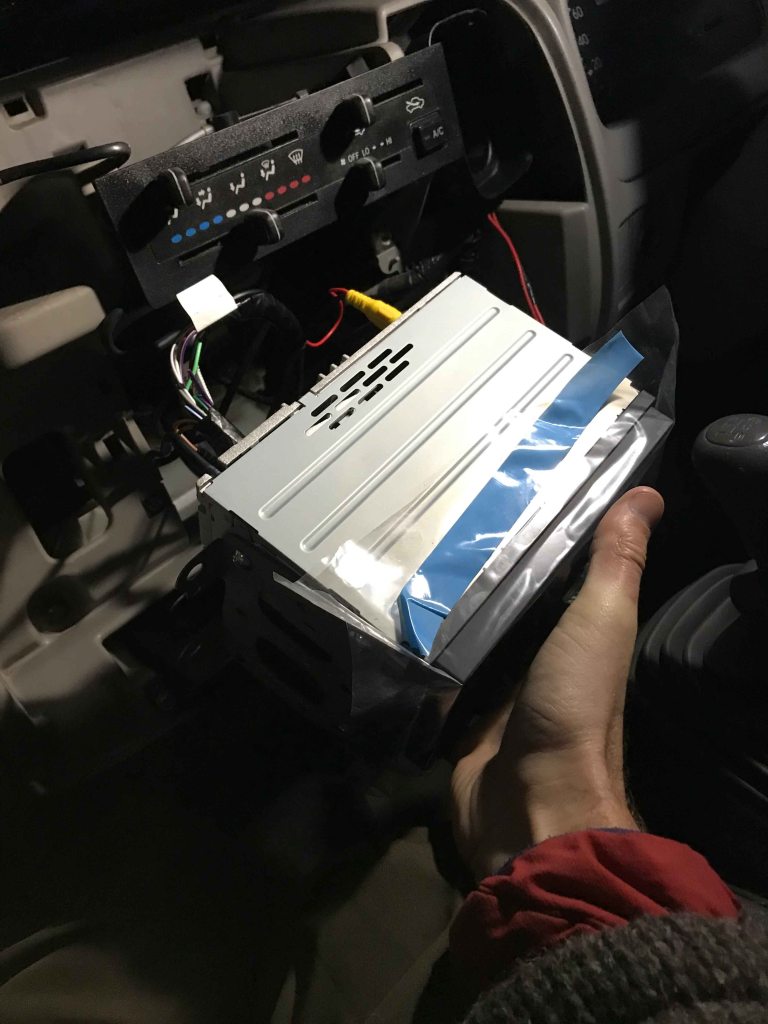
The existing head unit came out pretty easily, however the wiring harness introduced some new questions. Several of the wires were not connected to anything, including those that should be the passenger door speaker wires. This all took quite some debugging, but ultimately things became clear. The install of the new head unit would be simple, once the second DIN shelf was removed.
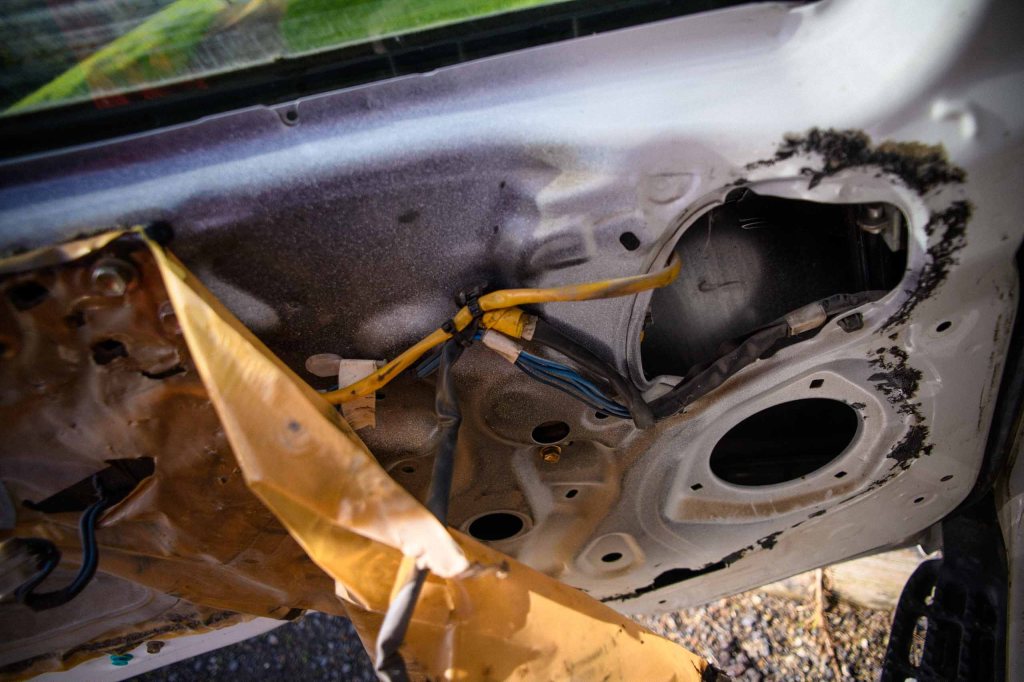
Door panels started coming off too – those little panel clips can be quite dastardly at times. I was curious what lay behind them, and what size speakers I could fit. There were speaker grills in both doors, so I figured a loose wire somewhere was causing one of them to malfunction. Lo and behold, there was no speaker in the passenger door! Wow, well this would be interesting…running speaker wire from the headunit to that door wouldn’t been too difficult, right? Luckily, the wires were actually already run, all I’d need to do was connect them.
As I’d been picking up miscellaneous parts and pieces along the way, I would always check out the audio sections at Supercheap Auto and Repco. They mostly had the same gear, at the same prices. I was beginning to see a combination that would work. One of the Sony double-DIN head units, and some component speakers. Pioneers seemed to be the ones that could work, but their tweeters looked to be glued on rather than really being designed to be built in. While researching options, I came across Jonvy Auto Car Stereo and Security, who had heaps of listings in TradeMe. It was challenging finding someone who knew much about these things at the auto parts stores, so I decided to drop in to Jonvy.
The guys at Jonvy knew their stuff! Man, this was refreshing! Whether it’s car stereos, diesel engines, interior fitups, or electrics, finding the right people is KEY!
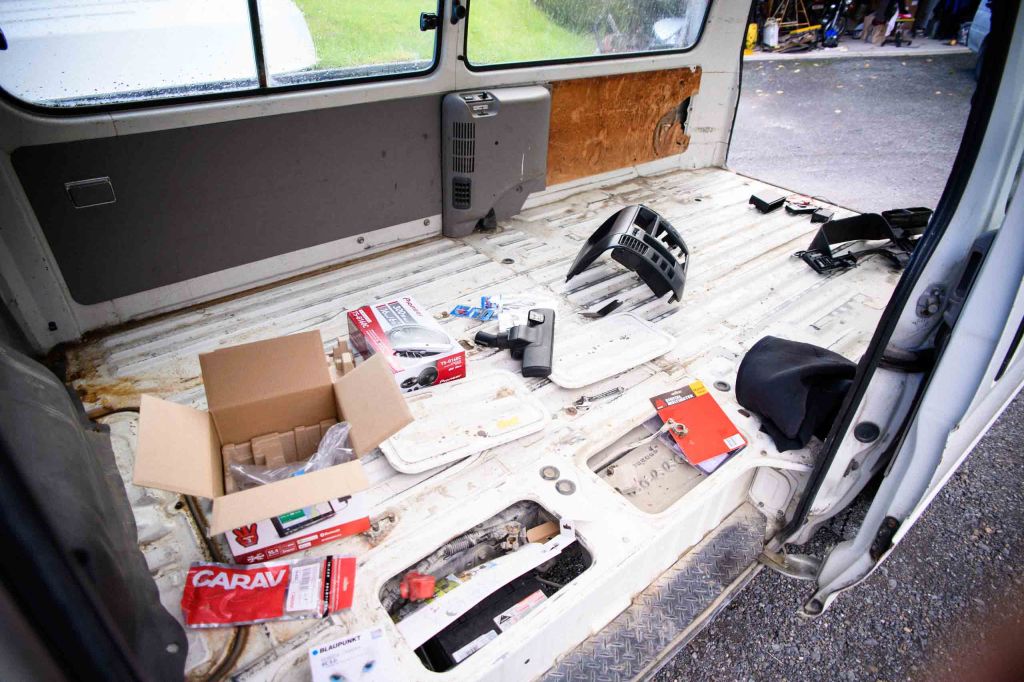
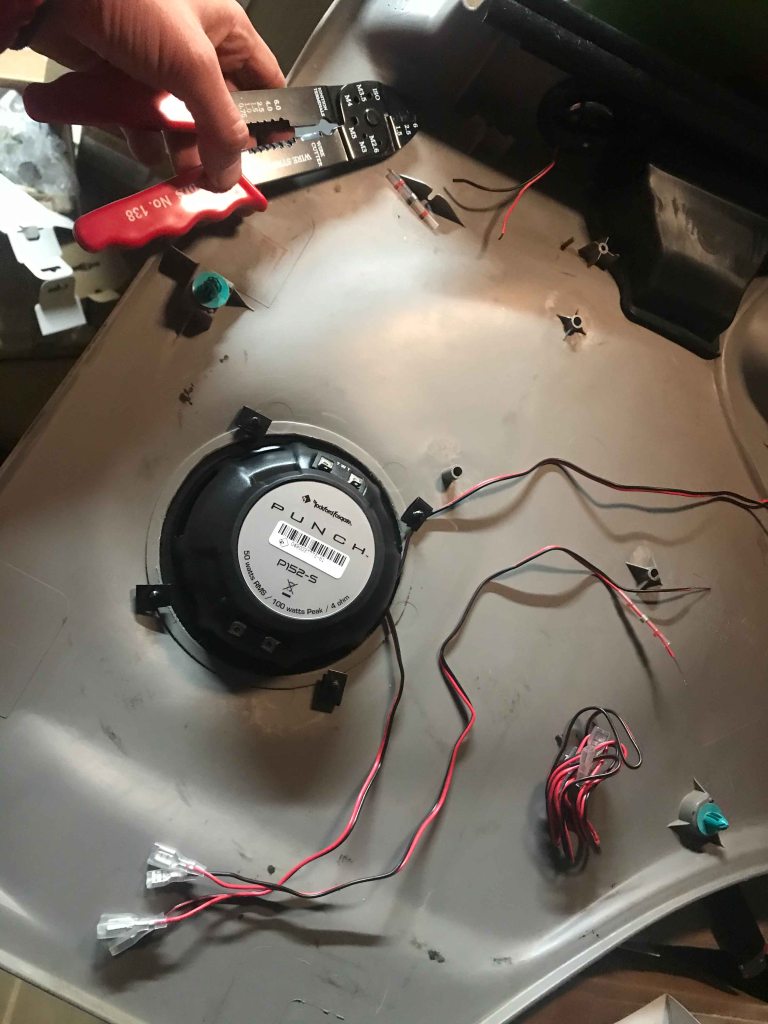
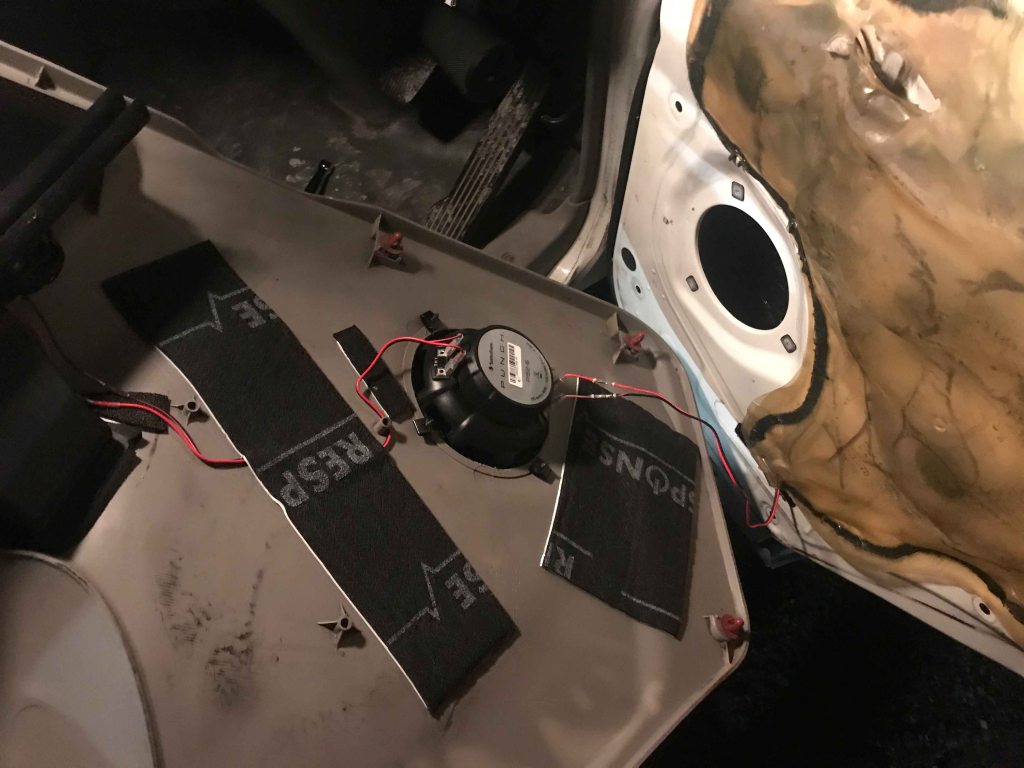
I ended up purchasing a Sony AVX-3000, which came with a backup camera, and picked up a pair of the pioneer component speakers and sound-deadening adhesive mats. One thing I’d seen a lot of conversation about in the blogs and videos about van builds was the importance of sound deadening. These things (vans) are basically big tin cans, so anything and everything you do to reduce the vibrations and sound intrusion makes a big difference. I’d picked up enough to cover 85% of the doors and ceiling, and 25% of the rear compartment. This stuff is HEAVY!
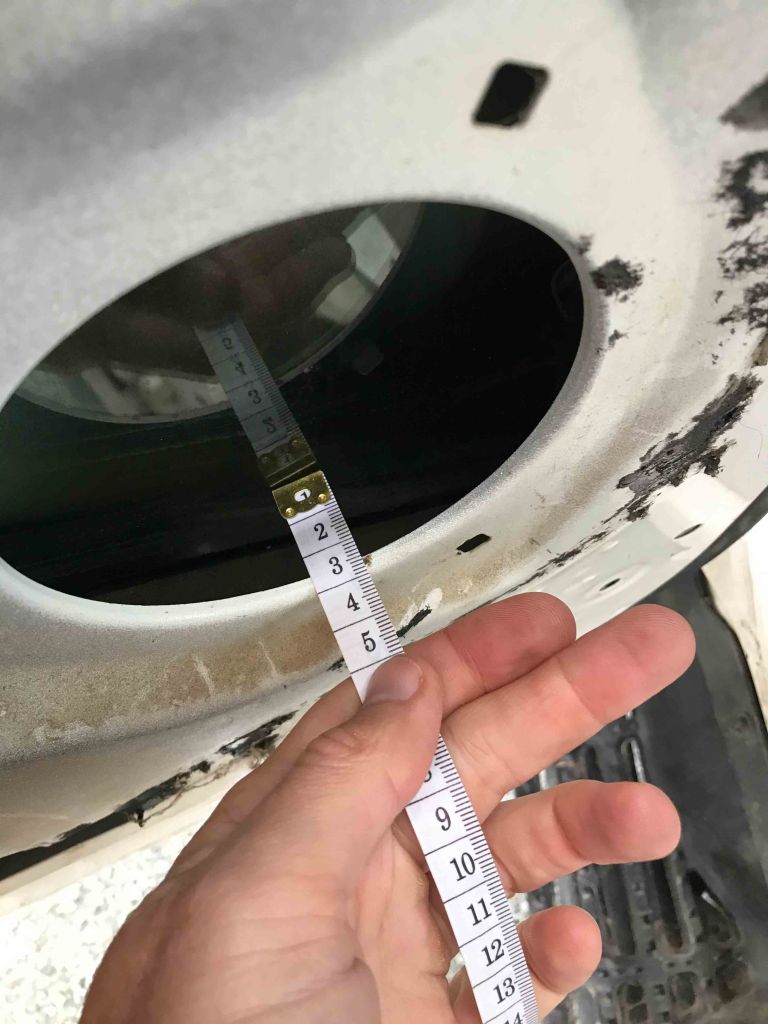
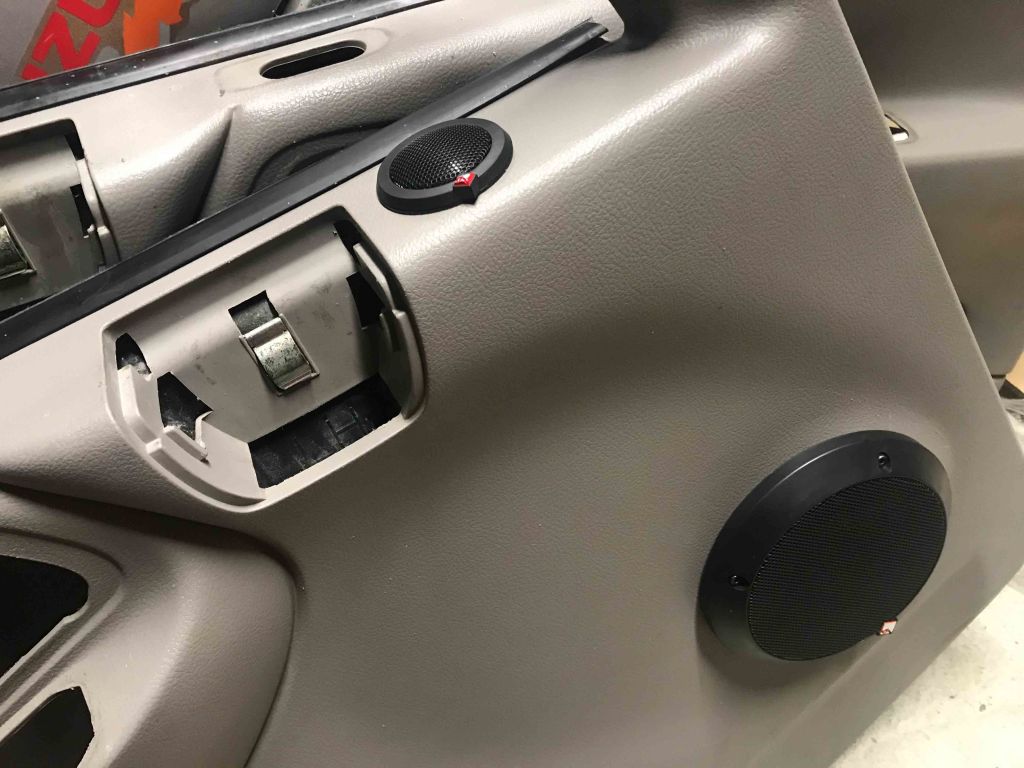
After installing the new head unit, and hemming and hawing about how to install the speakers. I decided to go back to Jonvy and have a look at the other speakers they had. The hole in the doorframe was 4″ and I’d picked up 6″ speakers. How was I going to install these? The guys at Jonvy were great. One of the installers came out to look at what was there. He took off the passenger door panel and the first thing he did was lower the window. Wow. I’m glad he did that. Like a guillotine the window came down and only left about an inch of space. No way these speakers would’ve fit in there! We looked around at some of the other speakers they had in stock, and I kept coming back to the Rockford Fosgate P152-S. The name stuck with me because in that original stereo install I did, in the trunk I’d mounted two 12″ Rockford Fosgate subwoofers. Their flush-mount tweeters also looked much cleaner than the stick-on ones from the Pioneers. The other bonus of these speakers is that they were designed to be installed either inside the door, or flush-mounted. That would be perfect! I could cut a hole in the door panels for both the woofer and tweeter, and it would all have a tidy yet custom look about it!
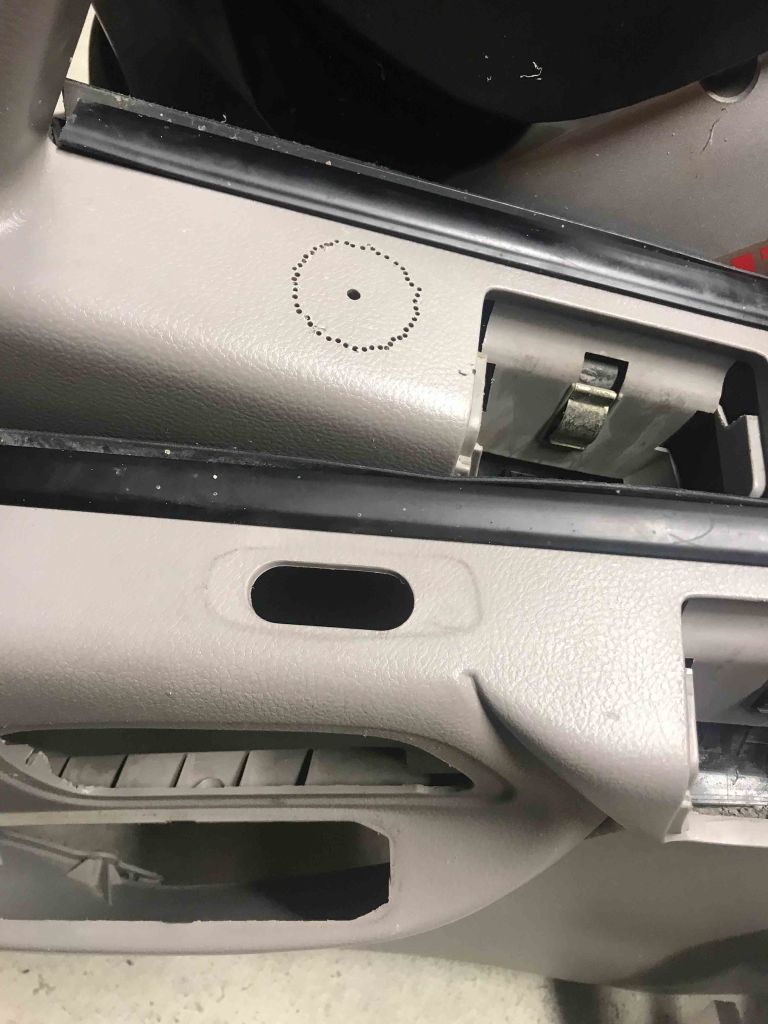
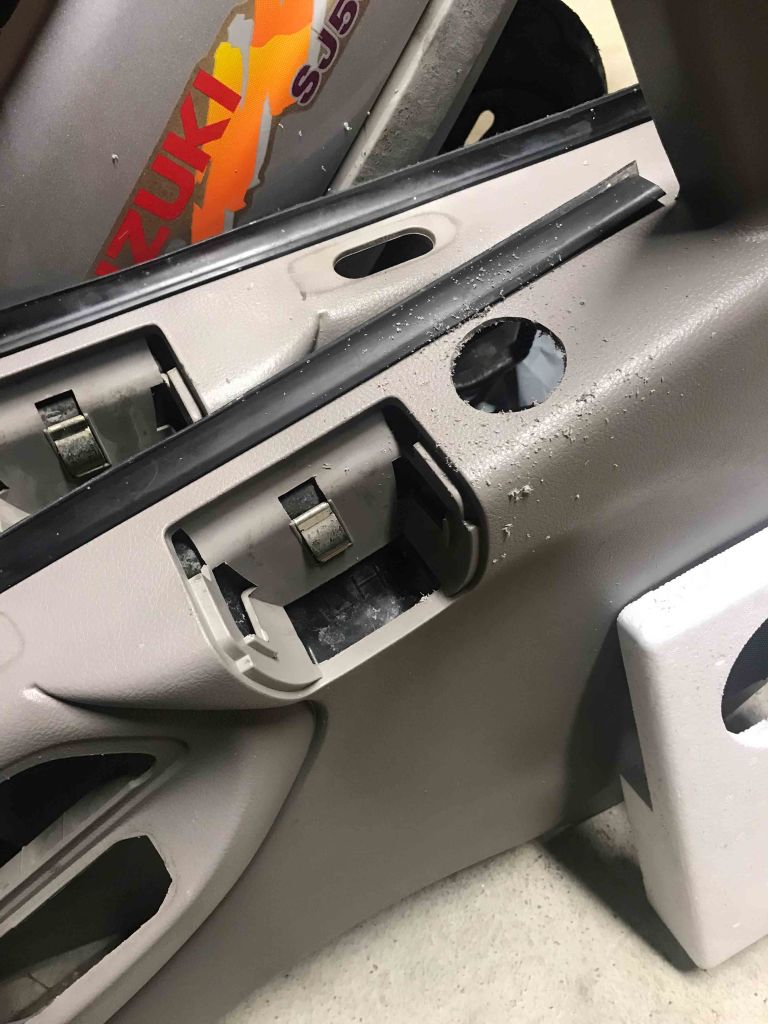
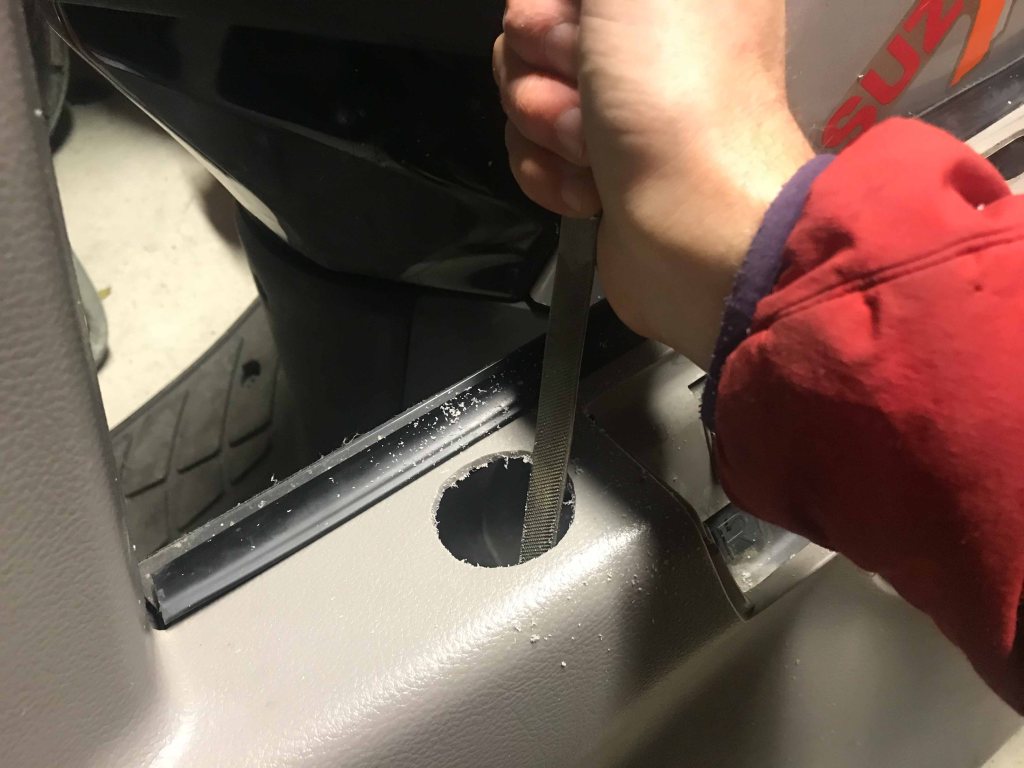
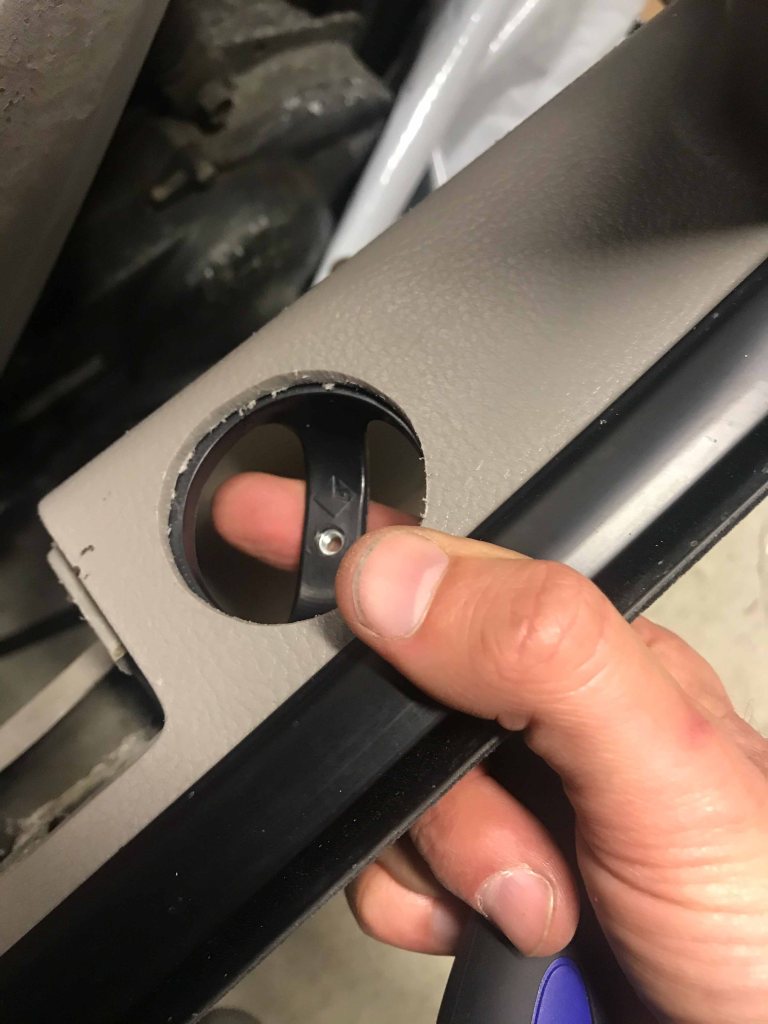
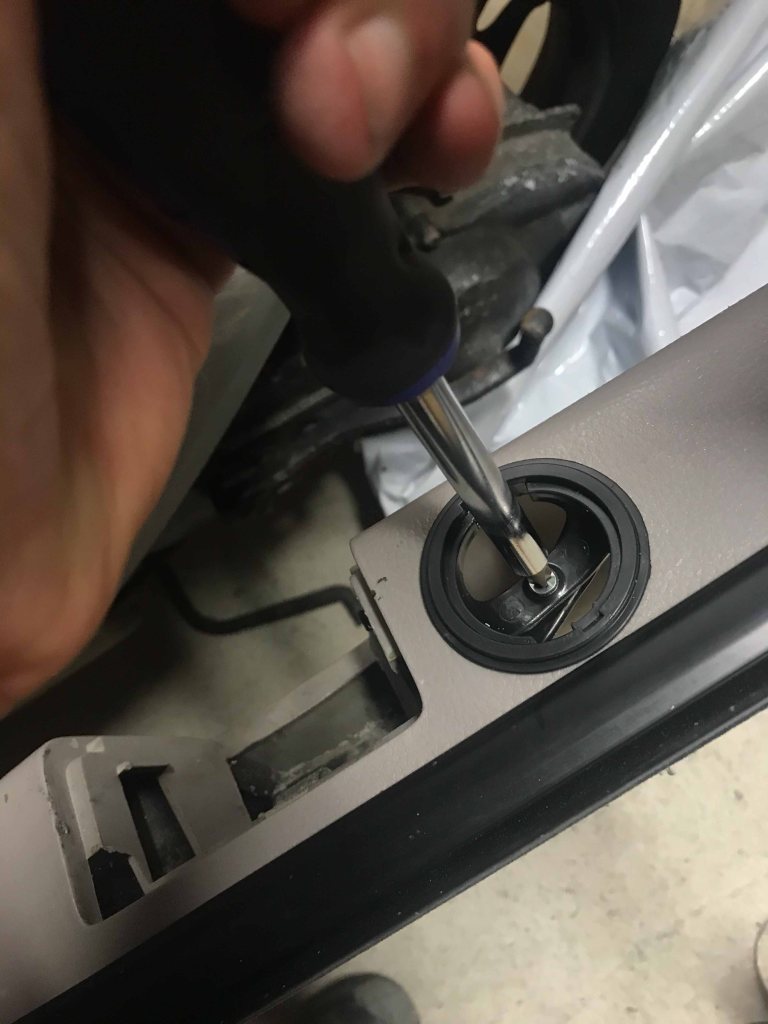
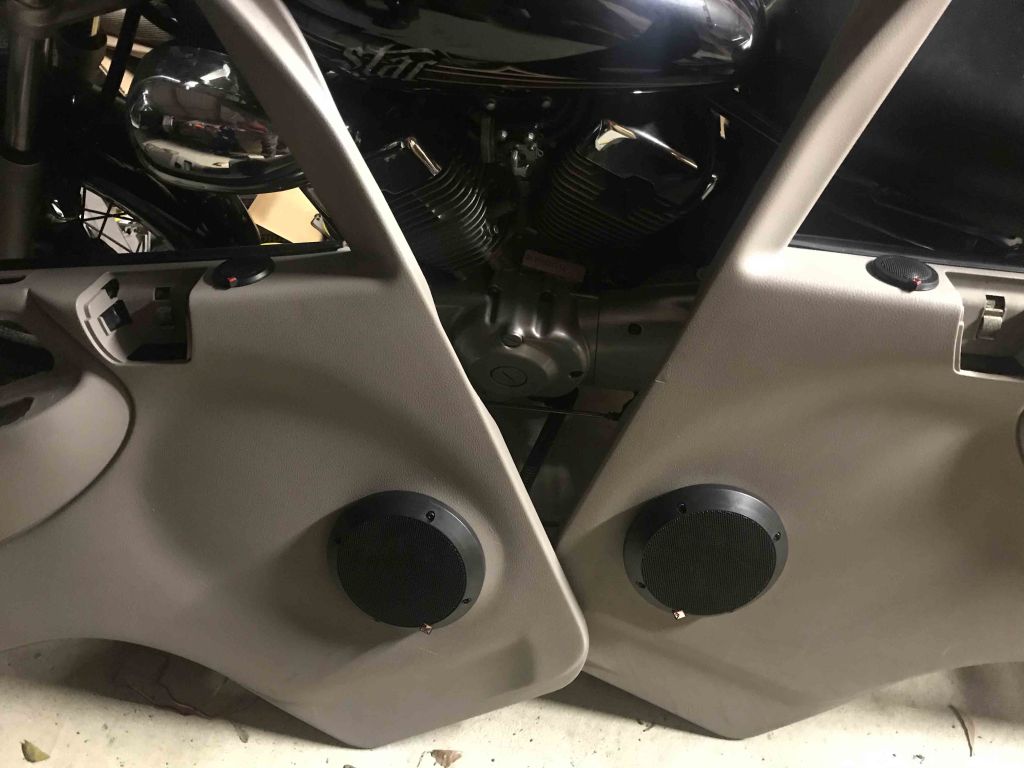
This is where my dremel tool came in handy. I measured, several times (they say measure twice, cut once!) then began making holes in the interior panels. Wow, I could feel my level of anxiety building. I didn’t really know what I was doing, and these were pieces that would be super hard to replace if I messed it up. It wouldn’t be the last time I felt this way. After cutting and dry-fitting the components, the file came out to make final adjustments and tidy up the holes. Then came the big moment – would the speakers fit and stay put? YES! Like a charm. I installed some additional foam-backed sound deadening mat I picked up from Para Rubber/Jaycar to minimize noise from the speaker wire, and after covering as much of the doors interiors as I could reach with sound deadening, I was ready to install the renovated door panels.

The doors went back on, the and so did the dash, but not before running wires all the way to the back of the van for the reversing camera. Getting those connected to the right points, and wires run down to the rear license plate frame ended up being quite the bear. Yet ultimately they worked, and I was able to put the dashboard back together.
There were a few items that still stuck out to me, namely the blanks where cigarette lighters or switches would go – they were simply missing or broken, and while I needed a hole for the USB socket, for the time being it was simply dangling from one of the missing spaces. These would prove an annoyance for quite some time, until I ended up finally receiving an order from Japan with the parts.
All these annoyances disappeared the moment I turned the key and the stereo came to life. Wow. This sounded fantastic! There I sat, in a trance, as my tunes flowed through the new speakers, a huge grin peaking out from within my bearded face.
This felt good. Really, really good.
